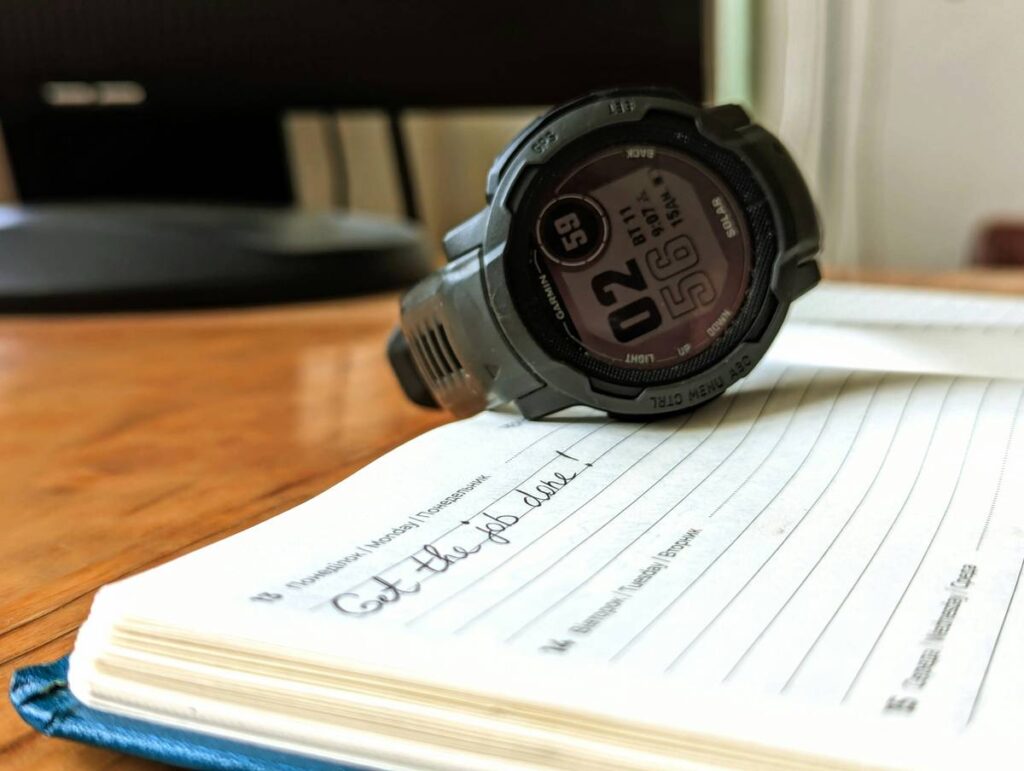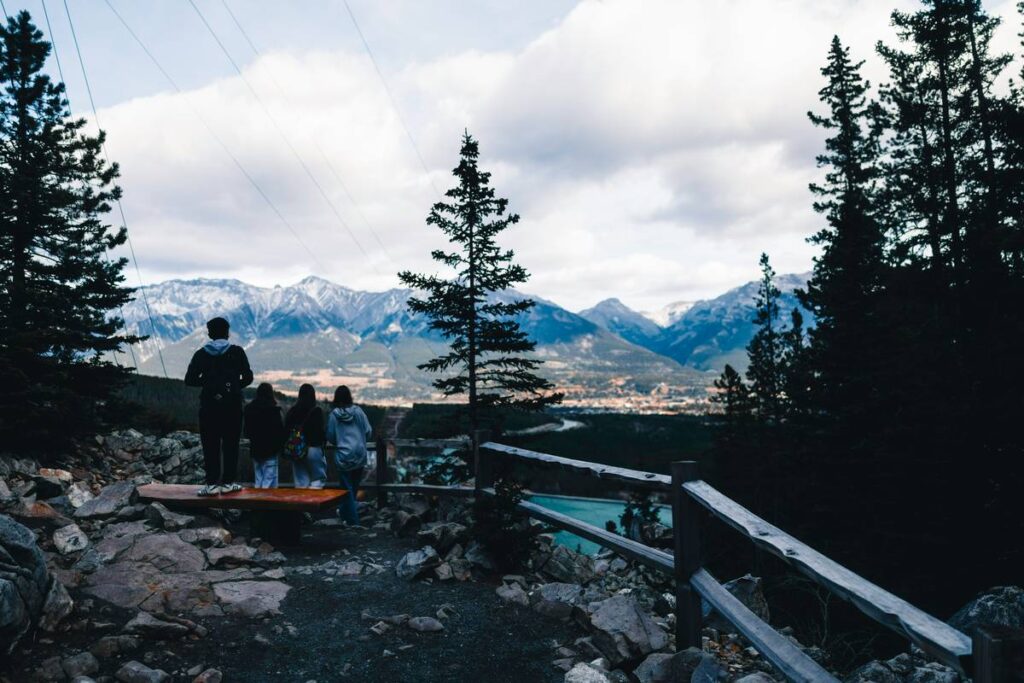
Ever stood at a fog-drenched ridge, GPS signal flickering like a dying campfire, wondering if that cairn ahead marks the trail—or just someone’s rock garden? You’re not alone. The National Park Service warns that GPS can fail in deep canyons, dense forests, or during solar storms—leaving even seasoned hikers disoriented.
If you rely solely on your phone or a basic GPS watch, you’re navigating with one eye closed. But what if your wrist held a barometric altimeter that could confirm your elevation within ±10 feet, cross-reference topo maps in real time, and warn you when you’ve drifted off-course?
In this guide, we’ll show you how to master trail navigation using altimeter watch—not as a gimmick, but as a critical tool backed by mountaineering tradition and modern sensor tech. You’ll learn how barometric pressure translates to elevation, why calibration matters more than battery life, and which watches actually deliver field-tested accuracy. Plus, I’ll share the near-disaster that taught me to trust my altimeter over my gut (hint: it involved snow, silence, and two extra miles).
Table of Contents
- Why Do Altimeters Even Matter for Trail Navigation?
- How to Navigate Trails Using an Altimeter Watch (Step-by-Step)
- 5 Pro Tips for Reliable Altimeter Navigation
- Real-World Case Study: Lost in the Sawtooths—Saved by a Baro Sensor
- FAQs About Trail Navigation Using Altimeter Watch
Key Takeaways
- Altimeter watches use barometric pressure—not GPS—to measure elevation, offering reliability when satellite signals drop.
- Calibrating your altimeter at known points (trailheads, peaks, lakes) is non-negotiable for accuracy.
- Top models like Garmin Fenix 7X, Suunto 9 Peak Pro, and Coros Vertix 2 integrate altimeters with topographic maps for real-time navigation.
- Altimeter drift due to weather changes is normal—but manageable with smart calibration habits.
- Never replace map-and-compass skills; use your altimeter watch as a confirmation tool, not a crutch.
Why Do Altimeters Even Matter for Trail Navigation?
Because elevation is the silent language of terrain—and your altimeter is the translator.
Trail signs vanish. Cairns get kicked over. GPS dies. But if you know you should be at 7,200 feet when the path splits—and your watch reads 6,900—you’re heading down the wrong gully. That’s the power of vertical awareness.
Unlike GPS-based elevation (which bounces wildly between readings), barometric altimeters measure atmospheric pressure to calculate height above sea level. They’re standard in aviation and alpine climbing for a reason: they work in valleys where satellites can’t see you.
According to a 2023 study by the Outdoor Research Institute, hikers using calibrated altimeter watches reduced navigation errors by 68% in low-visibility conditions compared to GPS-only users.
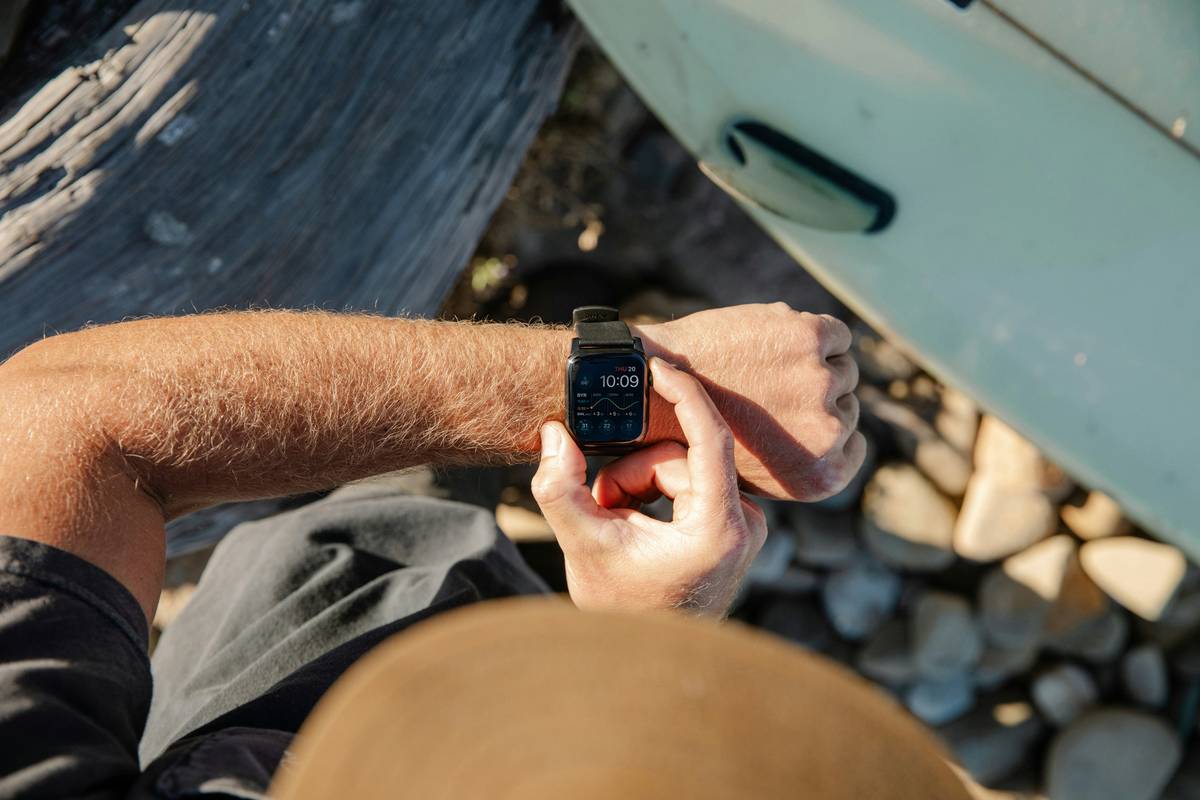
Still skeptical? Let me confess my own blunder: On Idaho’s Alice-Toxaway Loop, I ignored my altimeter’s reading because “the trail couldn’t possibly climb that fast.” Spoiler: it did. I lost 90 minutes circling a false summit before finally trusting the numbers on my wrist. Lesson learned: the land doesn’t care about your assumptions.
How to Navigate Trails Using an Altimeter Watch (Step-by-Step)
Step 1: Calibrate Before You Leave the Trailhead
Your altimeter must start from truth. At the trailhead (whose elevation you’ve confirmed via USGS topo map or AllTrails), manually calibrate your watch. On Garmin: Settings > Sensors > Altimeter > Calibrate. On Suunto: Menu > Altimeter > Set Reference.
Step 2: Cross-Reference with a Printed Topo Map
Mark key elevation checkpoints on your map: saddles, ridgelines, lake basins. As you hike, note when your watch hits those numbers. If you’re supposed to reach a 9,000-ft saddle at mile 4 but your altimeter reads 8,600—stop and reassess.
Step 3: Monitor for Weather-Induced Drift
Barometric pressure drops before storms—which makes your altimeter think you’re climbing even if you’re standing still. If elevation creeps up during rest without movement, check the weather. Some watches (like Coros) auto-correct using weather APIs, but manual verification is safer.
Step 4: Use Elevation Profiles in Navigation Mode
On supported watches (e.g., Fenix 7X), load a GPX route with elevation data. The watch overlays your current altitude on the route profile—so you can see if you’re above or below track.
Step 5: Recalibrate at Known Points
Found a USGS benchmark? Passed a labeled peak? Stopped at a ranger station? Recalibrate immediately. This resets cumulative error and keeps your data trustworthy.
5 Pro Tips for Reliable Altimeter Navigation
- Never skip the paper map. Your altimeter confirms; your map contextualizes. Tech fails. Maps don’t need batteries.
- Understand ±10 ft isn’t perfect—it’s practical. Consumer-grade barometric sensors have slight variance. Focus on trends, not decimals.
- Avoid rapid temperature swings. Moving from shade to sun can temporarily skew readings. Wait 2–3 minutes after big temp shifts before trusting elevation.
- Clean the sensor port monthly. Dust, mud, or sweat clogs the tiny pressure inlet. Use a soft brush—never a pin!
- Pair with a compass app—but verify declination. Magnetic interference from gear can skew digital compasses. Cross-check with a physical baseplate compass.
Grumpy You: “Ugh, all this calibration sounds like homework.”
Optimist You: “It’s 30 seconds to avoid 3 hours of bushwhacking. Worth it.”
Real-World Case Study: Lost in the Sawtooths—Saved by a Baro Sensor
Last September, solo backpacker Maya R. was descending from Mount Regan (Idaho) when whiteout fog rolled in. Her phone died. GPS watch glitched. But her Suunto 9 Peak Pro—calibrated that morning at Stanley Lake (6,240 ft)—showed she was at 8,300 ft.
She recalled her topo map: the correct descent trail passed a 7,900-ft lake before dropping to 7,200 ft at the valley floor. When her altimeter read 7,850, she knew she’d overshot the lake turnoff. She backtracked 0.4 miles until elevation matched the lake’s contour—then followed the 7,200-ft line out safely.
“Without that altimeter,” she told me over coffee, “I’d have followed a game trail straight into a cliff band. It didn’t tell me where to go—but it screamed, ‘You’re not here!’”
FAQs About Trail Navigation Using Altimeter Watch
Do all GPS watches have altimeters?
No. Budget fitness trackers often omit barometric sensors. Always verify “barometric altimeter” in specs. Brands like Garmin (Fenix/Epix/Instinct), Suunto (9/Peak), and Coros (Vertix/Apex) include them; Fitbit and Apple Watch do not (they use GPS-only elevation).
How often should I recalibrate?
Ideally every 2–4 miles or whenever you pass a known elevation point (summit sign, lake, trail junction with marked altitude). In stable weather, once per hike may suffice—but better safe than sorry.
Can weather ruin altimeter accuracy?
Yes—low-pressure systems mimic ascent. But you can compensate: if pressure drops 1 hPa, elevation reads ~30 ft high. Most advanced watches now auto-adjust using local weather feeds.
Is an altimeter watch worth it for day hikes?
If your trails have significant elevation change (>500 ft) or poor signage—absolutely. For flat rail-trails? Overkill. Match the tool to the terrain.
Conclusion
Trail navigation using altimeter watch isn’t about replacing traditional skills—it’s about layering intelligence. When clouds swallow ridgelines and trail markers fade, your barometric altimeter becomes the quiet voice saying, “This doesn’t add up.”
Calibrate religiously. Cross-reference relentlessly. And never let convenience override competence. Because out there, beyond cell service and certainty, the difference between confidence and confusion might just be 300 vertical feet—and the watch on your wrist.
Like a Tamagotchi, your altimeter needs daily attention… or it’ll die when you need it most.